Convert, edit, and compress videos/audios in 1000+ formats with high quality.
How to Embed Subtitles Into Video: 5 Easy Walkthrough Guides

Posted by Paula Pailaga to Edit Video/Audio Jun 06, 2024
Having a subtitle to a video makes it accessible across countries that use different languages and people with hearing or cognitive impairments. Also, 91% of the videos with subtitles are preferably watched by many people. So, if you want to embed subtitles in your video but don’t know how, continue reading this post! This post features 5 different guides on how to embed subtitles into a video using different excellent tools! So, start exploring them below.
Guide List
One-click Way to Embed Subtitles to Videos Permanently How to Embed Subtitles to Videos through Handbrake Use VLC Media Player to Embed Subtitles to Videos How to Embed Subtitles to Videos Online with Veed Professional Way to Embed Subtitles to Videos via Pr FAQs about How to Embed Subtitles in VideosOne-click Way to Embed Subtitles to Videos Permanently
If you are looking for the easiest way how to embed subtitles into video permanently, then the professional 4Easysoft Total Video Converter tool is what you are searching for. This Windows and Mac-compatible tool supports advanced video editing features, including a subtitle option. This option lets you add external subtitle files that match the video in which you wish to embed a subtitle. It supports subtitles that are saved in SRT, SSA, ASS, CDG, etc. Moreover, it also comes with subtitle modification features that let you change the subtitles, font size, font color, position, etc.
Provide a preview that lets you see what your video looks like after adding subtitles.
Comes with a delay option that lets you sync embedded subtitle files to your video.
Support basic to advanced video editing features such as rotator, cropper, effects, etc.
Offer an AI-generated video enhancer that automatically enhances the video quality.
100% Secure
100% Secure
How to Embed Subtitle Into Videos Using 4Easysoft Total Video Converter Tool:
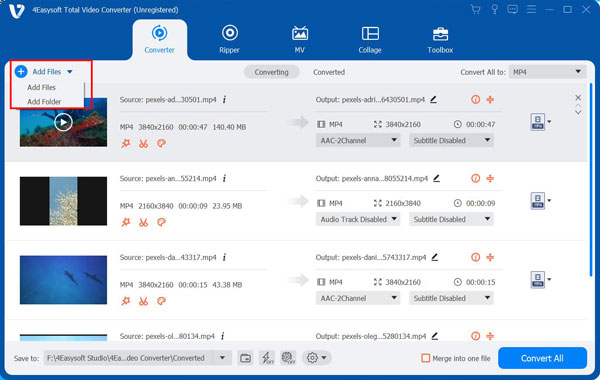
Step 1Download and install the 4Easysoft Total Video Converter tool on your computer. Then, launch the tool, click the "Plus" icon, and select the "video" you want to embed a subtitle. Next, tick the "Subtitle Disabled" dropdown and select the "Add Subtitle" option.
Step 2After that, on the pop-up window, access the "subtitle file" you wish to embed in your video, select it, and tick the "Open" button. Then, wait for the tool to embed it on your video.
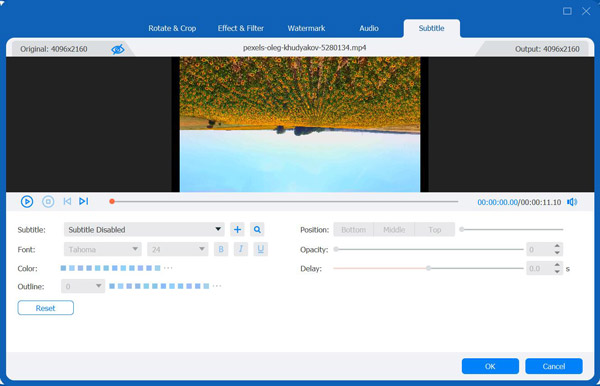
Step 3Once the subtitle file is added, you can click the "Play" icon on your video’s thumbnail to see how the tool added it to your video. If you want to edit the subtitle, tick the "Edit" button with the "star wand" symbol.
Step 4On the new window, you can modify the subtitle’s font, size, color, position, etc., based on your preferences. Once done, you can tick the "OK" button and click "Convert All" on the left-right corner of the tool to save your video.
Note: Ensure that the output format selected is set to the format that matches the video’s format. You can click the "Convert All to:" dropdown button, select the "Video" tab, and from there, select the video’s format.
How to Embed Subtitles to Videos through Handbrake
That’s it! That’s the simple way how to embed subtitles into a video using a professional tool. Apart from that, you can also use Handbrake to add subtitles to your video. Handbrake is an open-source (free to use) video transcoder tool that embeds subtitles into a video. However, this tool only lets you save your video in three formats, namely MP4, MKV, and WebM. If that doesn’t bother you at all, then here are the simple steps on how to embed subtitles into video permanently through Handbrake:
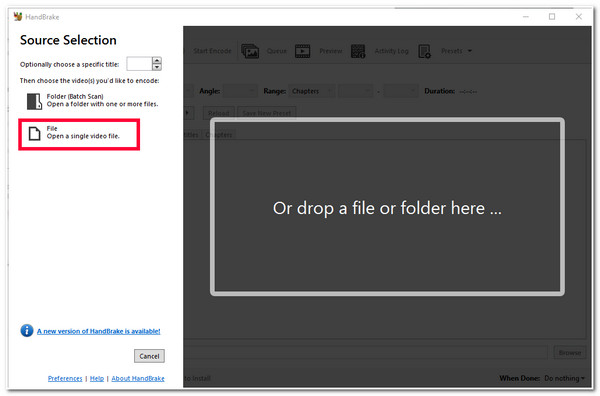
Step 1Download and install the Handbrake tool on your computer. Then, launch the tool, click the "File" button under the "Source Selection" section, and import the video to which you want to add subtitles.
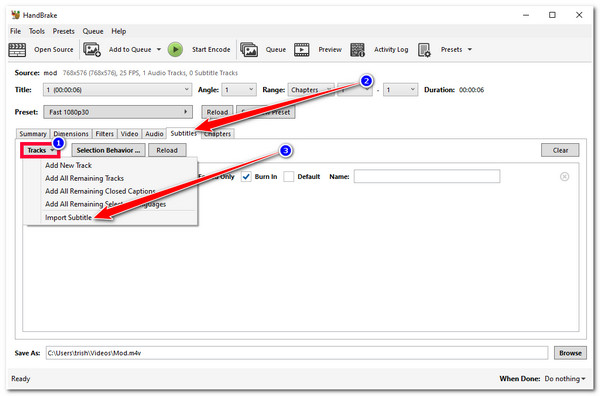
Step 2After that, select the "Subtitle" tab, click the "Tracks" dropdown button, and select the "Import Subtitle" option. Then, access the "subtitle" file you wish to embed and tick the "Open" button. The subtitle will automatically added to your video.
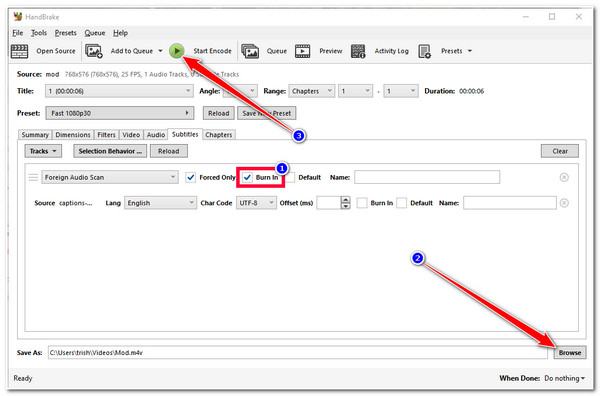
Step 3Next, click on the "Burn In" option to permanently hardcode your video's subtitle. Then, tick the "Browse" button, select a folder where you wish to store the video, and click the "Save" button. After that, click the "Start Encode" on the menu bar to save your video.
Use VLC Media Player to Embed Subtitles to Videos
There you have it! That’s the simple way how to embed subtitles into a video using Handbrake. Apart from Handbrake, VLC also offers an option to add subtitles to a video! VLC is also an open-source and cross-platform tool that supports features to play various media files and different video modifications, including adding subtitles. However, unlike the first two tools, VLC doesn’t have an option to modify the embedded subtitles. Moreover, this tool takes a lot of processes before you can embed subtitles in your video. Now, in case you still want to try, here are the steps on how to embed subtitles into video permanently in VLC:
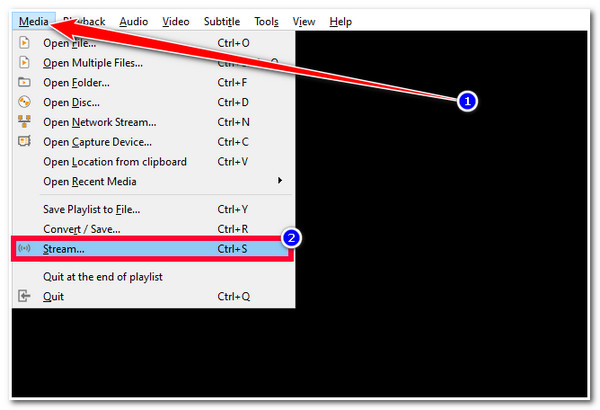
Step 1Run the VLC Media Player program on your computer, click the "Media" tab on the menu bar, select the "Stream" option, and click the "Add" button to import the video file to which you want to add subtitles.
Step 2Then, click the "Use a subtitle file" checkbox, click the "Browser" button, and select the "subtitle" you wish to embed into the video. After that, tick the "Stream" button and select the "Next" option.

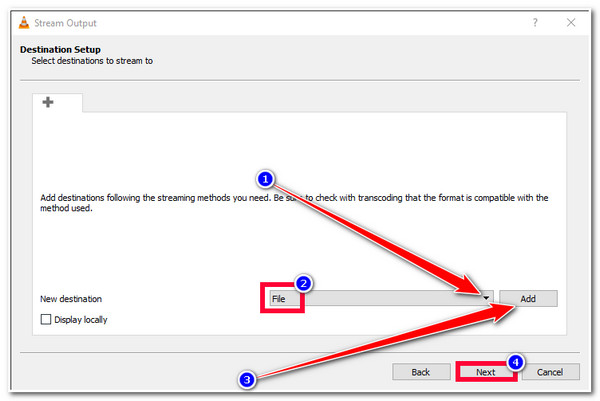
Step 3After that, click the "dropdown" button, select the "File" option, and tick the "Add" button. Then, look for the video you wish to embed a subtitle and ensure the file name ends in ".mp4" format. Next, select a folder to store the video and click the "Next" button.
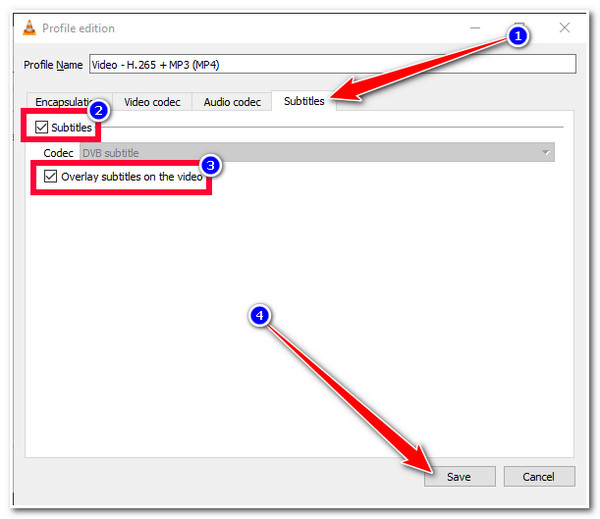
Step 4Then, tick the "Active Transcoding" checkbox, click the "Edit selected profile" button with the "Wrench" icon, and select the "Subtitles" tab. Next, tick the "Subtitles" and "Overlay subtitles on the video" checkboxes and click "Save". Then, tick the "Next" and "Stream" buttons.
How to Embed Subtitles to Videos Online with Veed
Now, those are the steps on how to embed subtitles into video permanently in VLC. Aside from those downloadable tools, there are also online tools that you can utilize to add subtitles to videos. One of the best online tools you can use is Veed! This online tool can automatically generate captions/subtitles, lets you manually embed subtitles, and upload a subtitle file. Moreover, it also offers options to modify the embedded subtitles. However, if you use this free online tool, expect the exported video to be watermarked. Moreover, this tool only lets you import a 10-minute video; if you want to go beyond that, you must pay for it, which is expensive. Now, if you still want to use Premiere Pro, then here are the steps on how to embed subtitles into video using this tool.
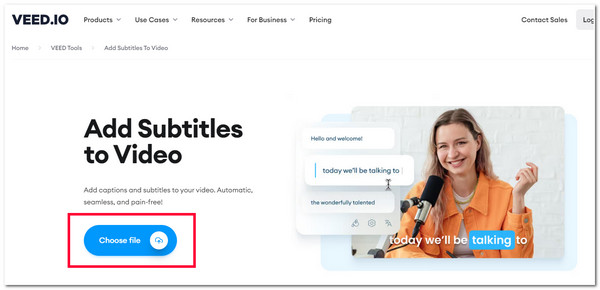
Step 1Run your computer’s browser, search for the "Add Subtitles to Video VEED" website, access it, and click the "Choose file" button. Next, import the video you wish to embed subtitles by ticking the "Upload a File" button. After that, wait for the uploading process to finish.
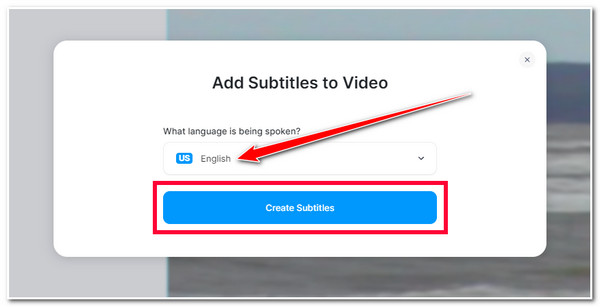
Step 2After that, select the "language" used in the video and tick the "Create Subtitles" button. Then, wait for the tool to generate the subtitles automatically. Once the tool generates subtitles, you can arrange and edit some subtitles.
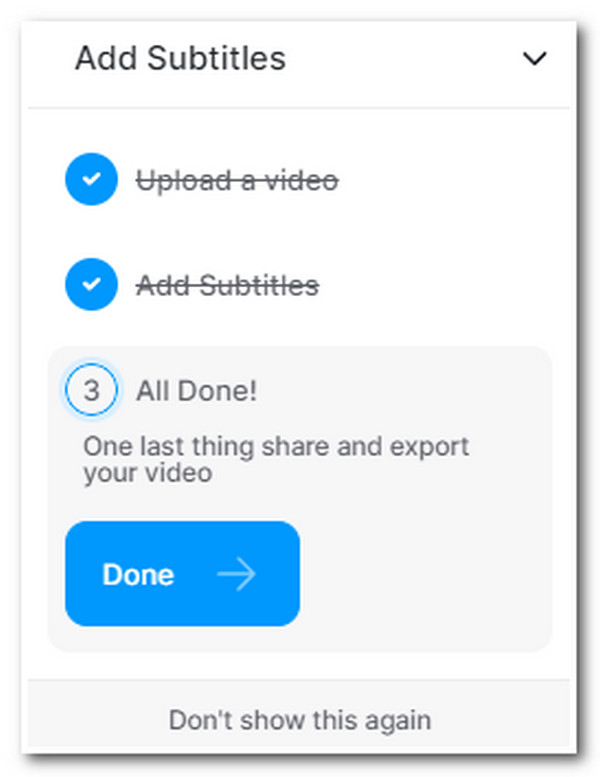
Step 3Once you finish the above setups, tick the "Done" button, select the "Export" option, and wait for the tool to finish rendering. Once done, sign up to the tool to download the video.
Professional Way to Embed Subtitles to Videos via Pr
There you go! That’s the simple way how to embed subtitles into a video using VEED. The last tool this post can recommend to you is Adobe Premiere Pro. Premiere Pro is the industry’s leading video and photo editing program. This tool can accommodate big video or photo editing projects, such as films, posters, movies, etc. By having these capabilities, expect this tool to offer advanced features, such as its features to add subtitles. That only means it will require beginners to take much time to learn the tool. Now, if that something won’t bother you and you want to learn how to embed subtitles into video permanently on Mac/Windows using Premiere Pro:
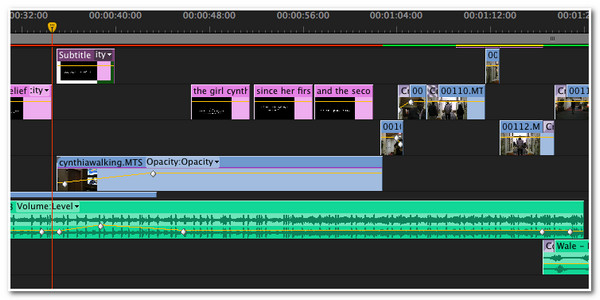
Step 1Download and install the Adobe Premiere Pro on your computer. After that, create a new project and import video and subtitle files on the tool. Then, drag the video into the timeline.
Step 2Next, tick the "File" tab, click the "New" button, and then select the "Captions" option from the dropdown menu. After that, select your subtitle’s format and video settings and click the "OK" button.
Step 3Then, drag the "subtitle layer" to the video clip on the tool’s timeline. After that, on the "Captions" tab, you will put all your subtitles here. Next, perform some subtitle and video editing until you have reached your desired outcome. Once you are done, you can export it right away.
FAQs about How to Embed Subtitles in Videos
-
Can I create subtitles to embed on videos?
Yes, you can create your subtitles. You can use the VEED and Premiere Pro to create subtitles manually, or you can use a subtitle generator tool such as Animaker, Kapwing, and AegiSub.
-
How much does using VEED cost without a watermark?
If you want to use VEED that doesn’t embed a watermark on the output, you need to avail of its Basic version, which costs $12/month per user. This VEED version lets you import a video with a maximum of 5GB file size, Full HD 1080p Exports, Subtitles 720 min/yr, etc.
-
Does Adobe Premiere Pro consume massive computer resources?
Yes, Adobe Premiere Pro is a resource-intensive media editing tool. It requires a lot of hard disk space, high-end graphic cards, and processors to process various editing processes. So, before installing it on your computer, ensure your device can handle it.
Conclusion
That’s it! Those are the 5 efficient ways how to embed subtitles into video! With these tools, you can now make your video easily accessible across different countries and to people with hearing or cognitive impairments. If you are looking for a tool that can embed a subtitle file into a video with just one click, you can use the 4Easysoft Total Video Converter tool! With this tool’s easy-to-use video editing features, especially its subtitle option, you can quickly embed a subtitle file for your videos! To discover more about this tool, visit its official website today.
100% Secure
100% Secure