콘텐츠
기초
소개
4Easysoft 데이터 복구 컴퓨터, 플래시 드라이브, 휴지통에서 손실된 데이터를 관리하고 저장하여 손상된 컴퓨터를 복구하는 데 도움이 되는 사용하기 쉬운 도구입니다. 간단한 클릭만으로 모든 데이터를 스캔하여 다양한 유형으로 분류한 다음 원하는 음악, 사진, 문서, 비디오, 이메일 및 기타 데이터를 선택하여 복구할 수 있습니다.
구매 및 등록
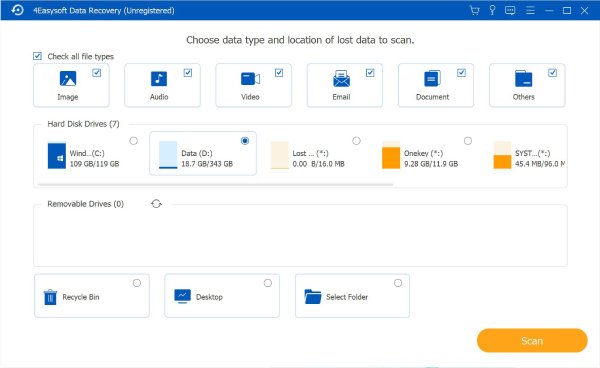
4Easysoft Data Recovery의 더욱 멋진 기능이 여러분을 기다리고 있으며, 프로그램을 구매하면 사용 가능한 모든 기능을 잠금 해제할 수 있습니다. 클릭하세요. 구입 오른쪽 상단 모서리에 있는 버튼(카트 아이콘)을 클릭하고 필요에 따라 원하는 라이선스를 선택하세요. 이메일로 등록 코드를 받게 됩니다.
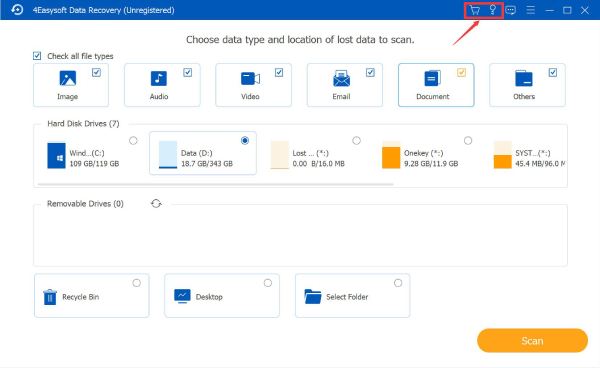
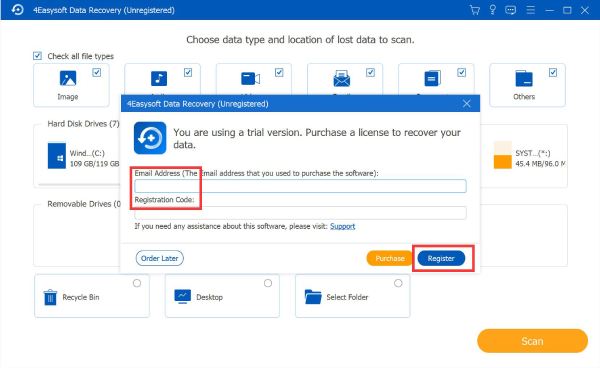
그 후에, 당신은 클릭할 수 있습니다 등록하다 구매 버튼 옆에 있는 버튼(열쇠 아이콘)을 클릭합니다. 여기서 라이선스를 구매하는 데 사용한 이메일 주소와 방금 받은 등록 코드를 입력할 수 있습니다. 마지막으로 등록하다 버튼을 눌러 활성화하세요.
업데이트
수동 업데이트: 클릭하세요 메뉴 오른쪽 상단 모서리에서 버튼을 클릭하고 업데이트 확인 버튼을 클릭합니다. 업데이트 확인이 지금 시작되고, 다운로드할 수 있는 최신 버전을 제공합니다.
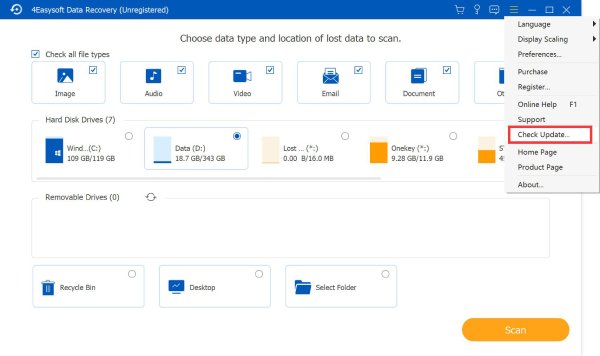
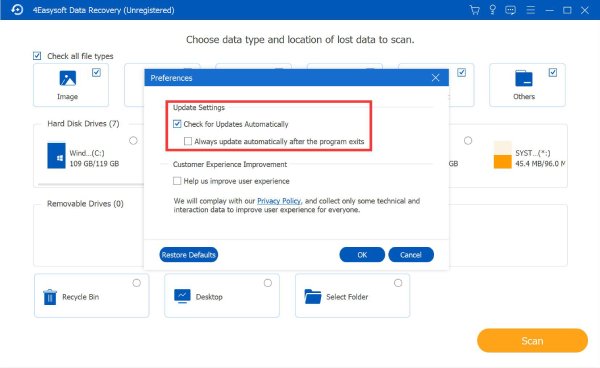
자동 업데이트: 클릭하세요 메뉴 버튼을 누른 다음 환경설정 버튼을 클릭합니다. 팝업 창에서 다음을 선택할 수 있습니다. 자동으로 업데이트 확인 프로그램을 시작할 때마다 정기적으로 확인하는 버튼입니다. 게다가, 추가 확인 없이 프로그램을 종료할 때 자동 업데이트를 활성화할 수 있습니다.
환경설정
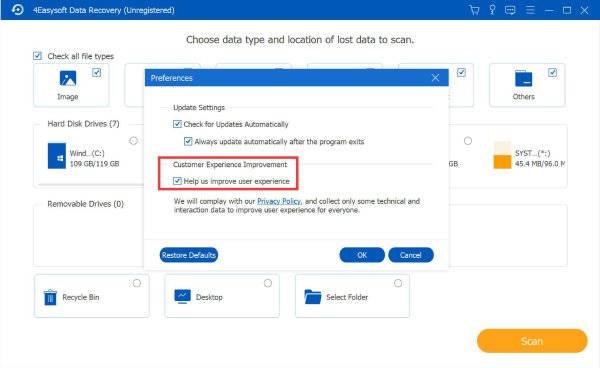
아래의 환경설정 버튼을 사용하여 조정할 수도 있습니다 고객 경험 개선 설정. 이 과정에서 귀하의 개인 정보가 유출되지 않을 것이 보장됩니다. 물론, 언제든지 원하는 대로 이 기능을 켜거나 끌 수 있습니다.
모든 데이터 복구
4Easysoft Data Recovery를 사용하면 컴퓨터 하드 드라이브, 외장 플래시 드라이브, 휴지통 및 선택한 폴더에서 데이터를 복구할 수 있습니다. 원하는 파일 유형을 스캔하여 시간을 낭비하지 않고 손실된 데이터를 빠르게 찾을 수도 있습니다. 아래의 자세한 단계를 읽고 지금 데이터를 복구하세요.
1단계: 원하는 위치 선택
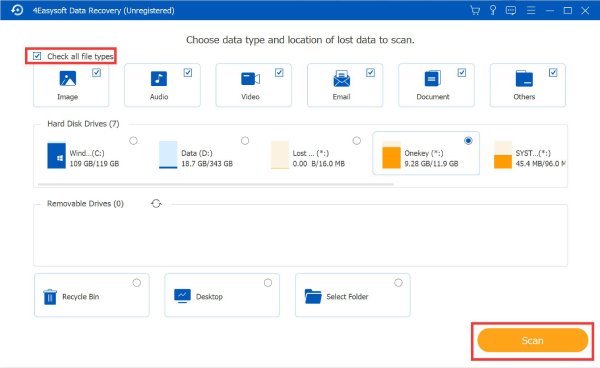
4Easysoft Data Recovery를 실행한 후 Windows C/D 하드 디스크 드라이브, 삽입한 외장 드라이브, 휴지통 등 손실된 데이터를 복구할 원하는 위치를 선택해야 합니다. 데스크탑 컴퓨터 전체를 스캔할 위치.
손실된 데이터의 파일 유형도 알고 있는 경우 다음을 선택할 수 있습니다. 영상, 오디오, 동영상, 이메일, 또는 문서 시간을 절약하려면 버튼을 클릭하세요. 그런 다음 주사 시작하려면 버튼을 누르세요.
2단계: 빠른 스캔 또는 심층 스캔
몇 초 안에 빠른 검사가 끝나면 알림 팝업 창이 나타납니다. 지금 바로 클릭하여 모든 데이터 복구를 시작할 수 있습니다. 지금 복구할 수 있습니다 단추.

스캐닝은 아직 진행 중이므로 심층 스캔을 원하시면 아무것도 하지 마십시오. 몇 분 정도 걸립니다.
3단계: 원하는 데이터 선택
왼쪽 창에서 원하는 데이터를 찾을 수 있습니다. 경로 목록 또는 유형 목록파일 유형 중 하나를 선택하고 원하는 형식을 선택하면 파일을 빠르게 찾을 수 있습니다.
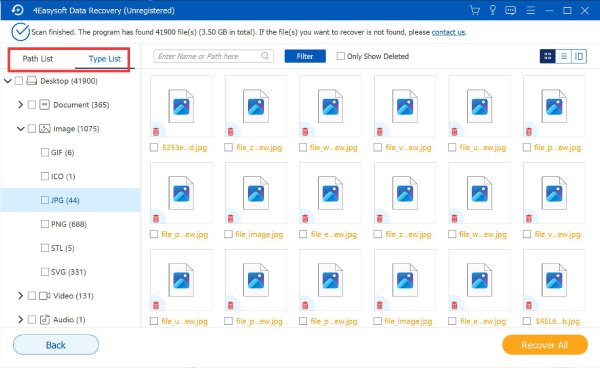
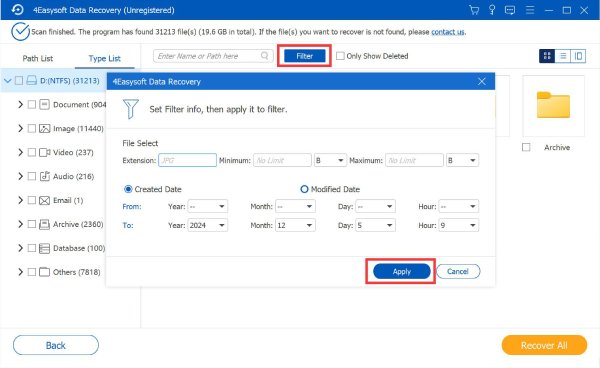
또한, 다음을 사용할 수 있습니다. 필터 원하는 데이터를 정확하게 찾을 수 있는 도구입니다. 확장자, 생성 또는 수정된 날짜 등에 대한 정보를 입력할 수 있습니다. 적용하다 계속하려면 버튼을 누르세요.
4단계: 선택한 데이터 미리 보기
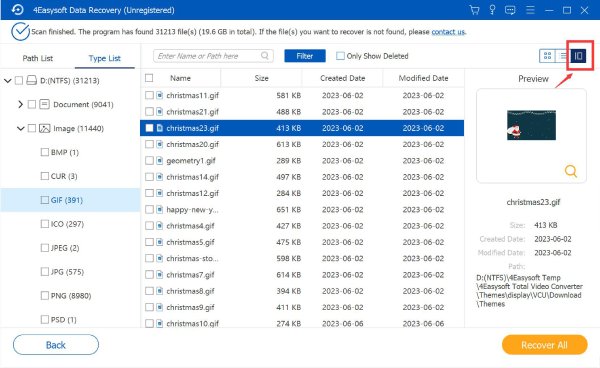
오른쪽 상단 모서리에서 데이터 미리보기 방식을 변경할 수 있습니다. 기본 방식은 다음과 같습니다. 썸네일, 비디오의 한 이미지만 표시됩니다. 따라서 클릭할 수 있습니다. 콘텐츠 버튼을 클릭하면 큰 화면에서 데이터를 미리 보고 메타데이터 정보를 확인할 수 있습니다.
5단계: 원하는 폴더로 데이터 복구
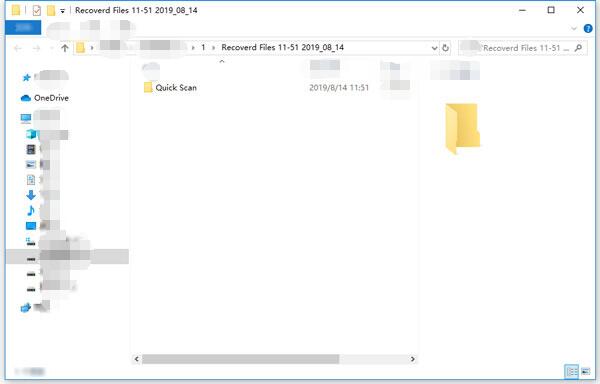
다음을 클릭하세요. 다시 덮다 버튼을 클릭하고 데이터를 저장할 원하는 폴더를 선택합니다. 프로세스가 몇 분 진행된 후 복구된 데이터가 파일 폴더와 함께 자동으로 팝업됩니다.
 윈도우의 경우
 맥의 경우
맥의 경우 무료 온라인 솔루션