Content
Basics
Introduction
4Easysoft Mac Screen Recorder is an all-in-one screen recorder that provides four default recording modes, including Video Recorder, Audio Recorder, Screen Capture, and Webcam Recorder. You can record your Mac screen with internal/external audio or webcam with simple clicks. When you need to record business conferences, capture video calls, make reaction videos, do voiceovers on your presentations, and more, it is the ultimate software with advanced features on Mac. Follow the detailed guide below to learn how to use 4Easysoft Mac Screen Recorder.

Register
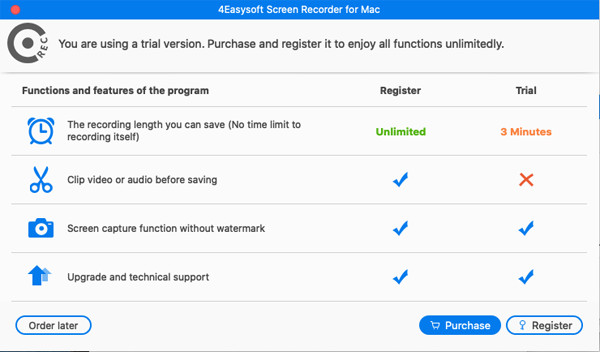
After launching 4Eaysoft Mac Screen Recorder, you can see a window popping up to purchase or register the full version of this software. Of course, you can choose the Free Trial to have a try on it. However, as listed, you can only use the free version to capture 3-minute long recordings, and it doesn’t support clipping the recordings.
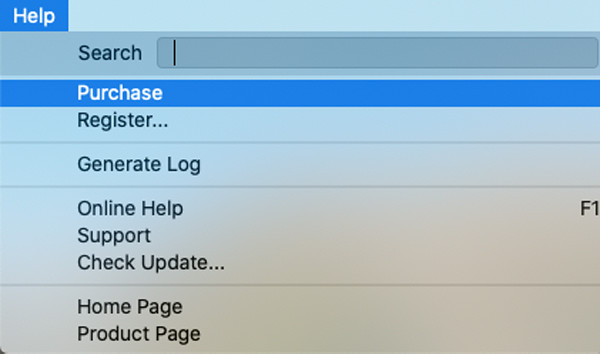
If you’d like to enjoy the full version, please purchase it first. Click the Help button on the top menu and choose the Purchase option. You can select the desired license in the popping-up window.
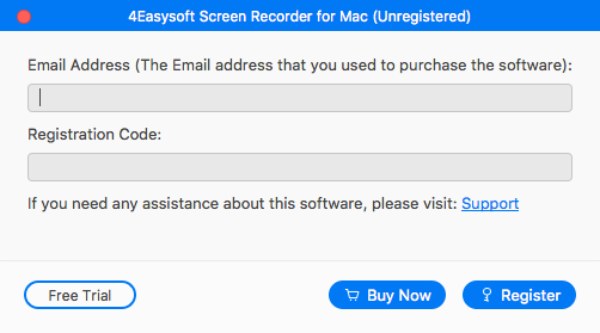
After that, click the Register button on the main interface. Here you need to enter the email address and registration code, and then click the Activate button to access the full version.
Email Address: It’s the email you used to purchase the registered version.
Registration Code: Paste the code you received after the successful purchase.
Update
4Easysoft Mac Screen Recorder always provides updates to fix bugs and bring new features for you. You can use the following two ways to update this software manually or automatically.
Method 1:Check Update Manually
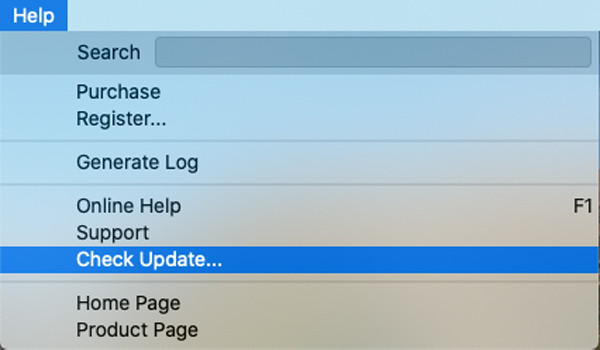
Click the Help button on the top menu and choose the Check Update option from the drop-down list. After a few minutes of detection, you can download and install the updated version if there is one. Otherwise, you will receive a message that the 4Easysoft Mac Screen Recorder is updated.
Method 2: Update Automatically
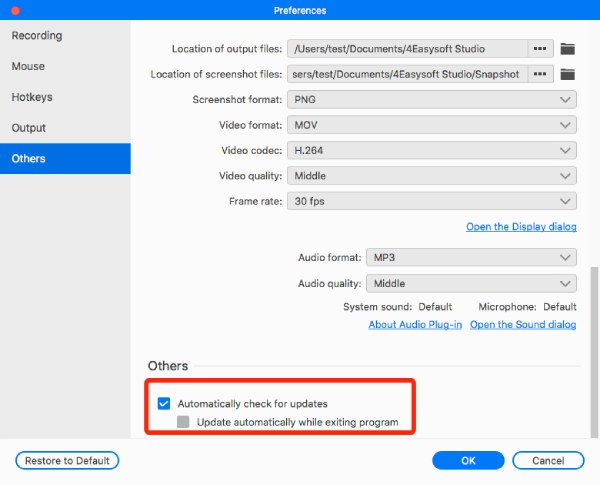
Click the software icon from the top menu and choose the Preferences option. Then click the Others tab and tick the Automatically check for updates option. After that, click the OK button to save the settings. In this way, you will receive the update information every time.
Accessibility Access
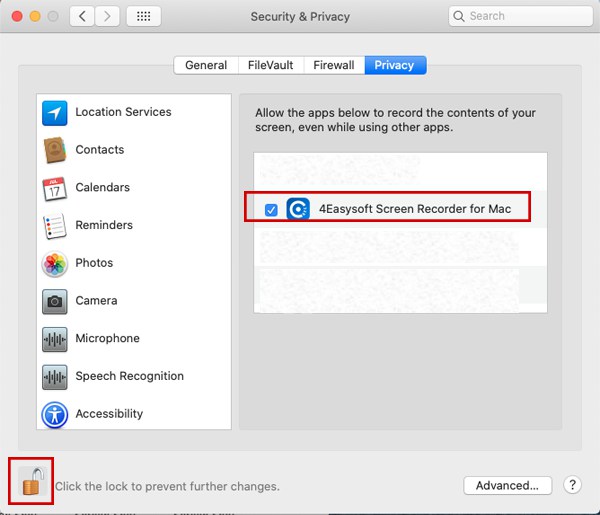
If it’s your first time running 4Easysoft Screen Recorder, there will be a window of Accessibility Access prompt to ask for permission to open it. You just need to choose the Open System Preferences button and click the Lock icon to change the settings. Then you can tick the 4Easysoft Screen Recorder software on the right side and click the Lock icon again.
Preferences
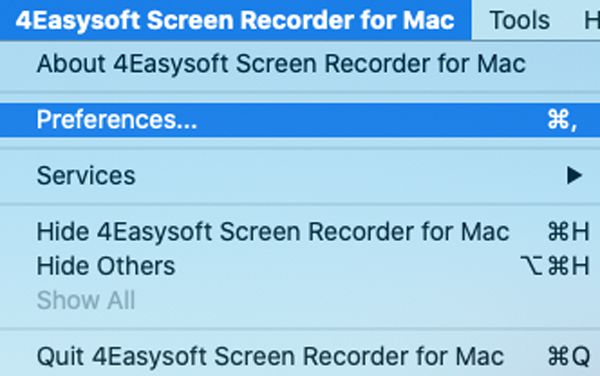
Before starting recording your screen on Mac, you’d better change the settings according to your need. Just click the 4Easysoft Mac Screen Recorder menu and choose the Preferences option.
Recording
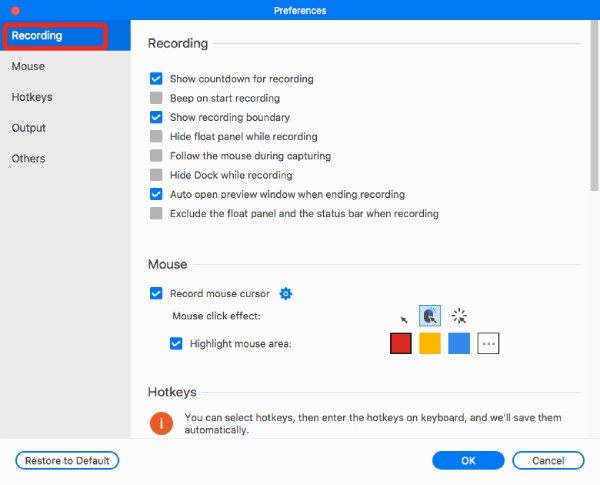
In the Recording tab, you can change the settings before and while recording, including show countdown before recording, show recording boundary, hide float bar when recording, etc. You can choose the desired settings for your convenience.
Mouse
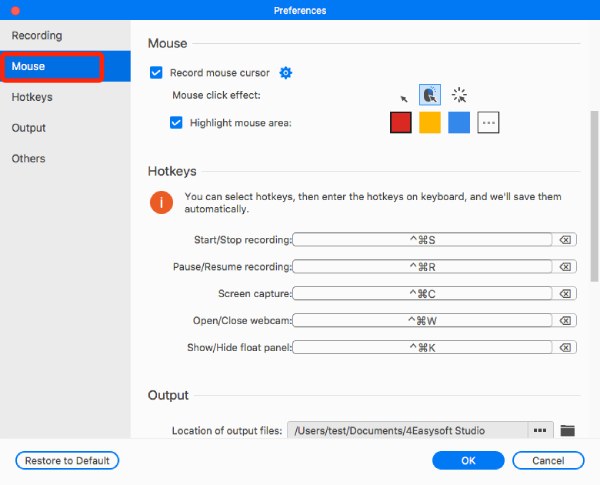
Choose the Mouse tab, and you can change the mouse display. You can choose to show or hide the mouse cursor, record the mouse clicks, and record around your mouse, which will help you highlight the important parts while recording.
Hotkeys
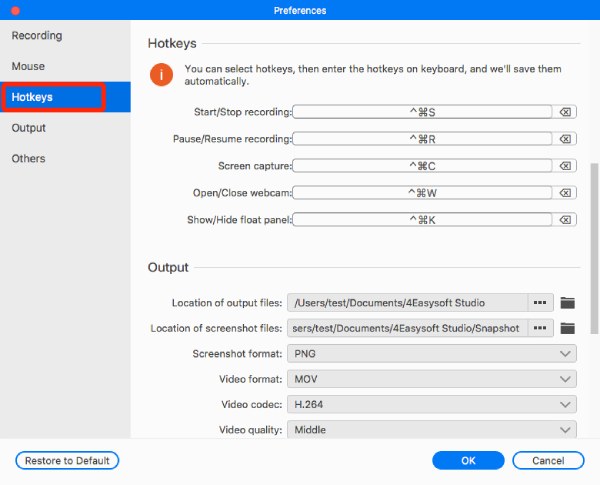
Navigate to the Hotkeys tab, and you can customize the hotkeys to start/stop/pause recording, take screenshots, open/close webcam, and show/hide float panel quickly. If you see other programs occupying a hotkey, you can directly click on the hotkey and enter the desired one through the keyboard to replace it.
Output
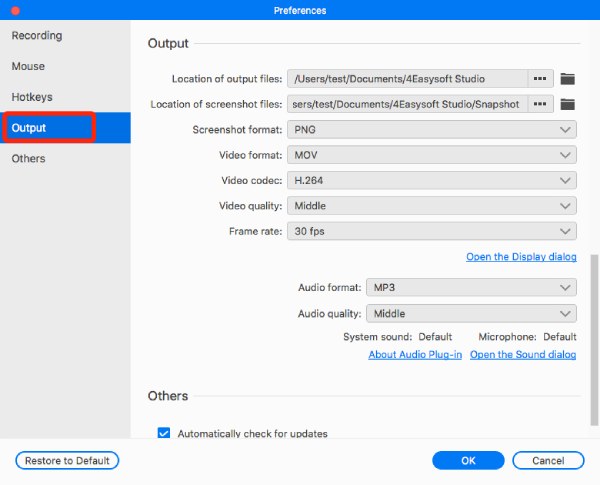
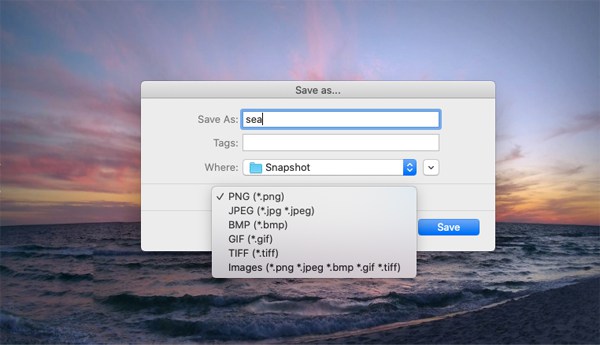
Go to the Output tab, and you can set the location of recordings/screenshots and change the output format and quality of videos, audio files, and screenshots. Here are provided settings:
Screenshot Format: JPG, PNG, GIF, BMP, TIFF.
Video Format: WMV, MP4, MOV, F4V, TS, AVI.
Video Code: H.264, HEVC, Apple ProRes 422, Apple ProRes 4444.
Frame Rate: 60fps, 30 fps, 24fps, 20fps.
Audio Format: MP3, M4A, WMA, CAF, FLAC, OGG, OPUS.
Quality: Lossless, Highest, High, Middle, Low, Lowest.
Main Features
Video Recorder
4Easysoft Mac Screen Recorder enables you to record any video and activity on your computer. Learn more about how to record screen videos in the following.
Step 1Launch Video Recorder on Mac
Launch the screen recorder and click the Video Recorder button to capture the screen with audio.

Step 2Select the Recording Area
Click the Full or Custom button to select the recording area with the desired 4K, 1080P, 720P, or 480P resolution. Of course, you can pull the borderlines freely to adjust the capture area according to your requirement.

Step 3Turn on the Sound
If you want to record conference meetings, online lectures, or any video with audio, you can turn on the System Sound option. You can also open the Microphone capture to record your sound simultaneously. Don’t forget to change the volume by pulling the slider.

Step 4Start Recording Video
After all settings are done, click the REC button on the right side to start recording your screen. Then a toolbox will pop up, and you can use it to add shapes, lines, callouts and take screenshots while recording.

Step 5Clip and Save the Recordings
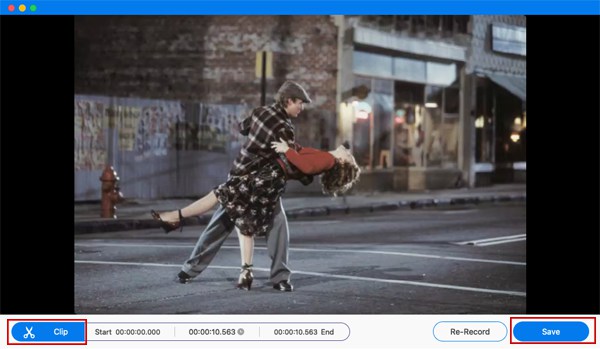
Click the Stop button to finish the recording. In the preview window, you can choose to clip the unwanted beginning and ending parts and then click the Save button to export the recording.
Window Recorder
This function enables you to capture the videos on the desired windows. In this way, you don’t need to worry about the popping-up window that will interrupt your recording process. Here are different modes for you to choose from.
Step 1Launch Window Recorder
Open 4Easysoft Mac Screen Recorder and click the Window Recorder button on the main interface.

Step 2Choose the Windows
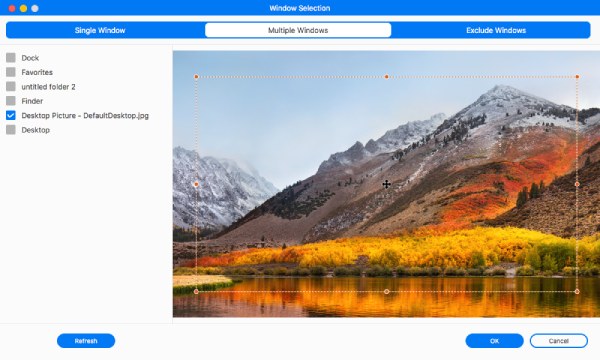
Here are three modes for you to record windows. You can capture single window or multiple windows at the same time. Moreover, if you are worried about the annoyance of other window, you can directly exclude those unwanted ones.
Step 3Adjust the Settings
After clicking the OK button, you can also change the settings before recording. Turn on the microphone and adjust the window size according to your need. Then, click the REC button to start.

Step 4Save the Recordings
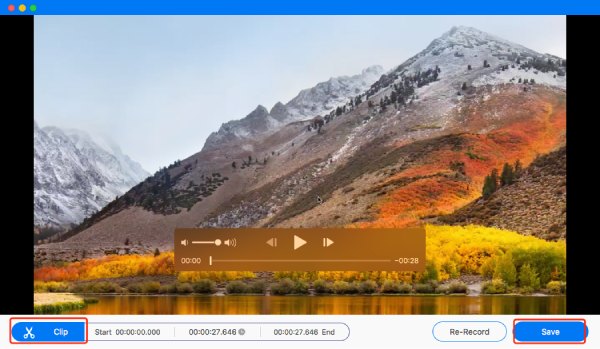
At last, you can click the Stop button to finish the recording and clip it as you like. Click the Save button to export the recordings.
Audio Recorder
If you’d like to record online video calls, TikTok voiceover, or music demo, this designed audio recorder is your best choice. You can record from the system sound and your microphone with high quality.
Step 1Launch Audio Recorder
Launch 4Easysoft Screen Recorder and click the Audio Recorder to record the audio only from microphone or system sound.

Step 2Choose Sound Sources
You can turn on the System Sound and Microphone simultaneously or separately according to your need. Then pull the sliders to adjust the volume for different sounds.

Step 3Start Recording Audio
Click the REC button to record Skype calls, voiceover, and online music. You can also change the system sound and microphone volume while recording.

Step 4Save Audio Recordings
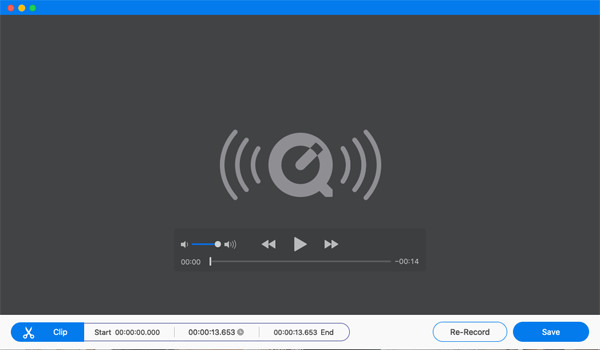
Click the Stop button in the toolbox to stop. Then, you can preview the audio files and delete the unwanted parts. After that, click the Save button to export it to the local folder.
Webcam Recorder
To record reaction videos, business meetings, and gameplay narrations, the Webcam Recorder is for you. You can use the built-in or the external webcam to capture you and your voice.
Step 1Enable the Webcam Recorder
You can directly click the Webcam Recorder on the main interface to record yourself. But to make a webcam overly, you still need to choose the Video Recorder option and turn on the Webcam option.

Step 2Adjust the Settings
Pull the borderlines of the webcam box to adjust its size and move it to the desired position. You can also turn on the audio capture to improve reviews or reaction videos.

Step 3Save the Webcam Recordings
You can clip the tapes in the preview window and then click the Save button to export them into the desired folder.

Screen Capture
You can also use 4Easysoft Mac Screen Recorder to take snapshots on your computer. And the hotkeys help you screenshot your screen easily.
Step 1Launch Screen Capture
Go to the main interface and click the Screen Capture button to take a screenshot.

Step 2Choose the Desired Region
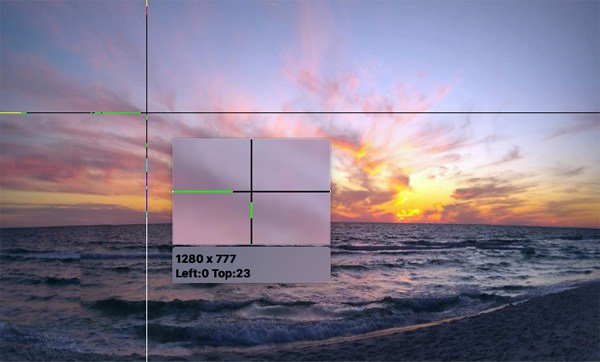
Then, your mouse will become a cursor move. You can left-click your mouse and drag it to fix the capture area. After that, you can still pull the borderlines to change the size.
Step 3 Edit and Save the Screenshots
With the toolbox, you can edit your screenshot with many tools, including shapes, lines, texts, callouts, etc. At last, click the Save button on the right side to export it.
Recording Controls
Edit While Recording
To edit and add annotations in real-time while recording, you can click the Edit button in the toolbox during the recording process. Here you can use the editing tools to add rectangle, ellipse, arrow, line, and text with different colors. Moreover, you can easily redo, undo, and erase the drawings.

Task Schedule Recording
If you need to automatically record live shows or online lectures when you are absent, you can use the Task Schedule function.
Step 1 Start Task Schedule
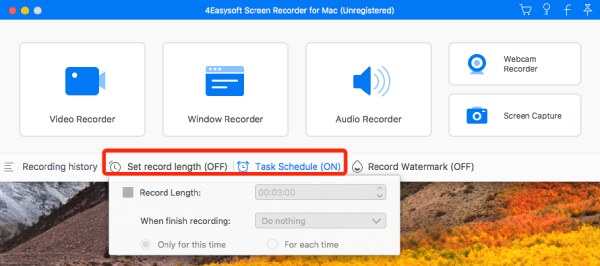
Here are 2 ways to make a task schedule. If you have started a recording, you can set the length to finish and save the recordings automatically. Another way is to click the Task Schedule button to add a new task.
Step 2 Create New Task
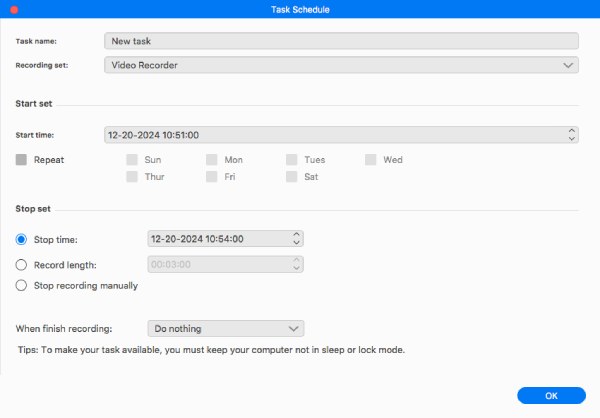
After the permission, you can add the start time, stop time, and record length according to your need. You can also repeat the recordings every week to capture the drama.
Manage Recording History
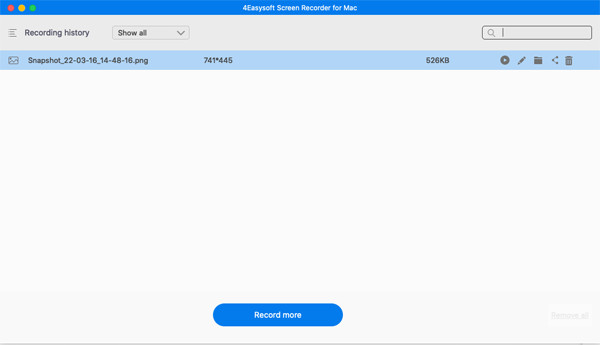
After you record video, audio, webcam, or take screenshots, you can find the recordings in the preset folder. Moreover, you can click the Recording History button on the main interface to access them directly. You can rename, play, share, and delete the recording files.
Record Watermark
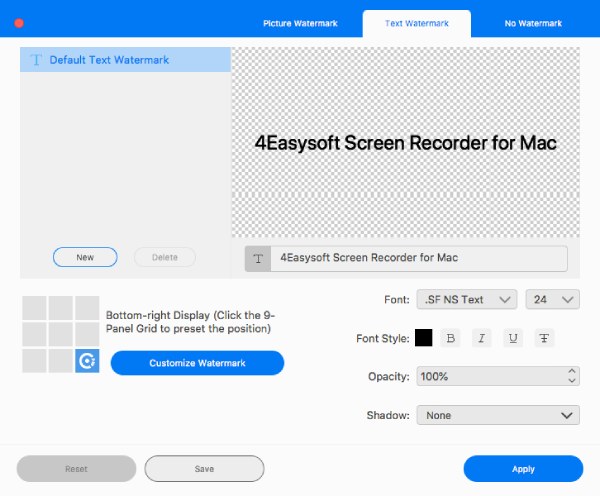
Click the Record Watermark button at the bottom of the main interface, you can add the image or text watermark to protect your copy right. You can also design your own watermark by clicking the Manage button.
 For Windows
 For Mac
 Free Online Solutions